Would you like to know how to install photovoltaic panels in your house? Are you interested in solar self-consumption? Read on, and we will tell you everything you need to know step by step.
The installation of photovoltaic panels is becoming increasingly widespread. For some years now, and especially as a result of the electricity price increases in June, many homeowners have been looking at the different options at their disposal to produce energy more efficiently in their homes. Self-consumption is one of the most popular alternatives.
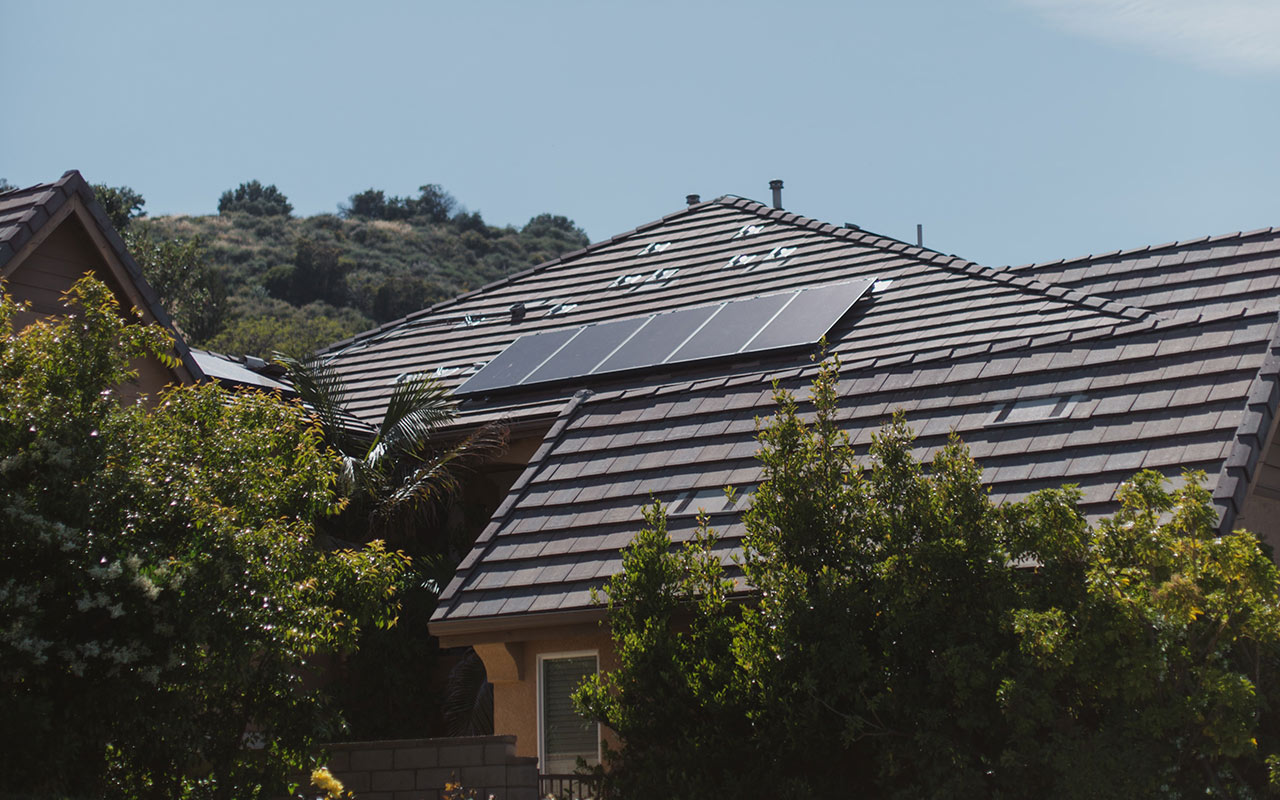
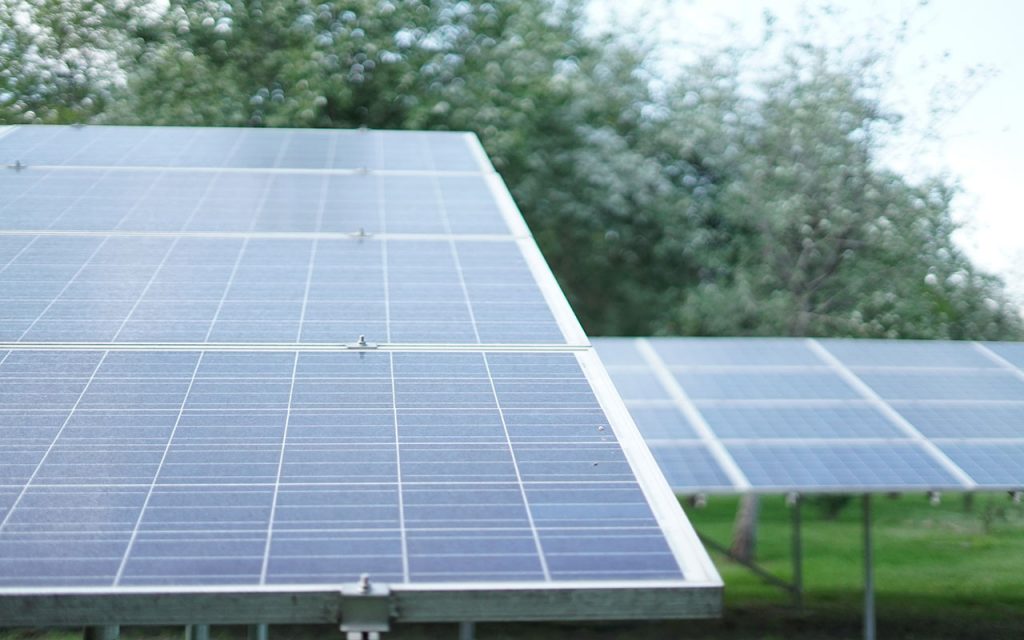
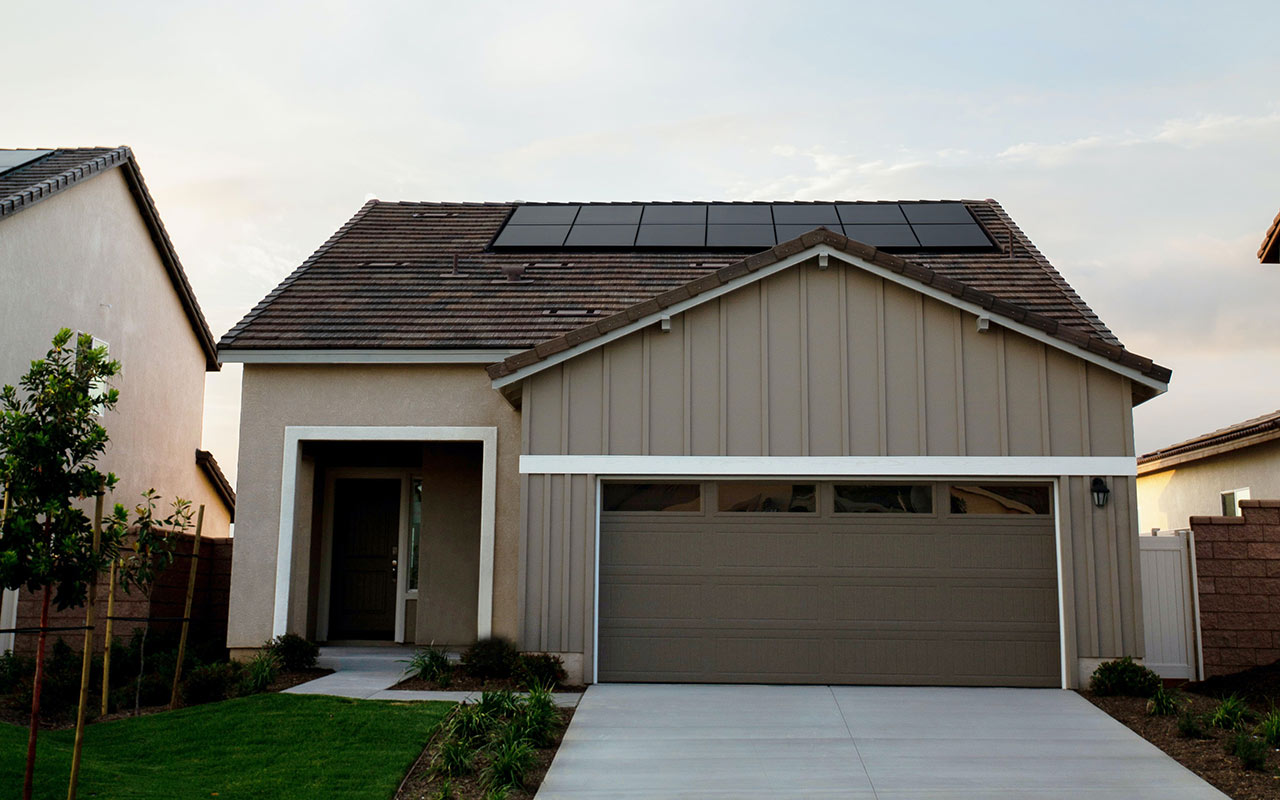
Self-consumption is the act of producing energy for one’s own direct consumption. The energy is obtained from renewable energies, and one of the newest methods is through the use of photovoltaic panels, whose versatility means that they can be installed on all types of roofs, whether flat, sloping, large or small.
Although the installation of photovoltaic panels for homes is a relatively simple process, you should always contact a professional company to undertake the job. After all, this is an electrical installation that can incur risks if not carried out properly.
What to consider when installing photovoltaic modules at home?
Before you install photovoltaic panels in your home, you should find out what type of installation is best for you, depending on your consumption needs, the space available, and the solar radiation in your area. Once you have established this, you can opt for one of two options: a stand-alone installation (which isn’t connected to the national grid) or a connected installation (which is connected to the grid and which can give you compensation for any surplus energy you produce).
With regard to where you can install the photovoltaic panels, all you need is sufficient roof space and a placement that ensures direct sunlight. Having said this, we would recommend that you carry out a prior study of the type of system you want, its orientation, and the available roof space, in order to calculate the number of panels you need, and any other components you may require.
Apart from this, in order to install photovoltaic panels, you will need to submit all the necessary documents, permits and licences to your local town hall, in order to begin the installation process. Normally, you will also need to attach the project or an installation report, with their respective production targets. But don’t worry, at MyGreenHouse we always take care of all the paperwork so that you don’t have to worry about a thing.
Finally, don’t forget that there are grants and subsidies available. In some town councils there are discounts of 30%-60% on the IBI (Property Tax) for 3-5 years, as well as on the ICIO (Tax on Construction, Installations and Works).
Some Autonomous Communities, such as the Valencian Community, also offer subsidies within their programmes to those who seek to improve energy efficiency and promote the use of renewable energies, and you can obtain deductions in IRPF (Personal Income Tax) of up to €3,200.
In an extra initiative which started on 30 June 2021, aid has been approved for self-consumption, batteries, and renewable air conditioning for a total value of 1,320 million euros. This initiative applies to the whole country.
We would encourage you to find out about all these programmes and initiatives before you start designing your photovoltaic installation.
Installing photovoltaic panels, step by step
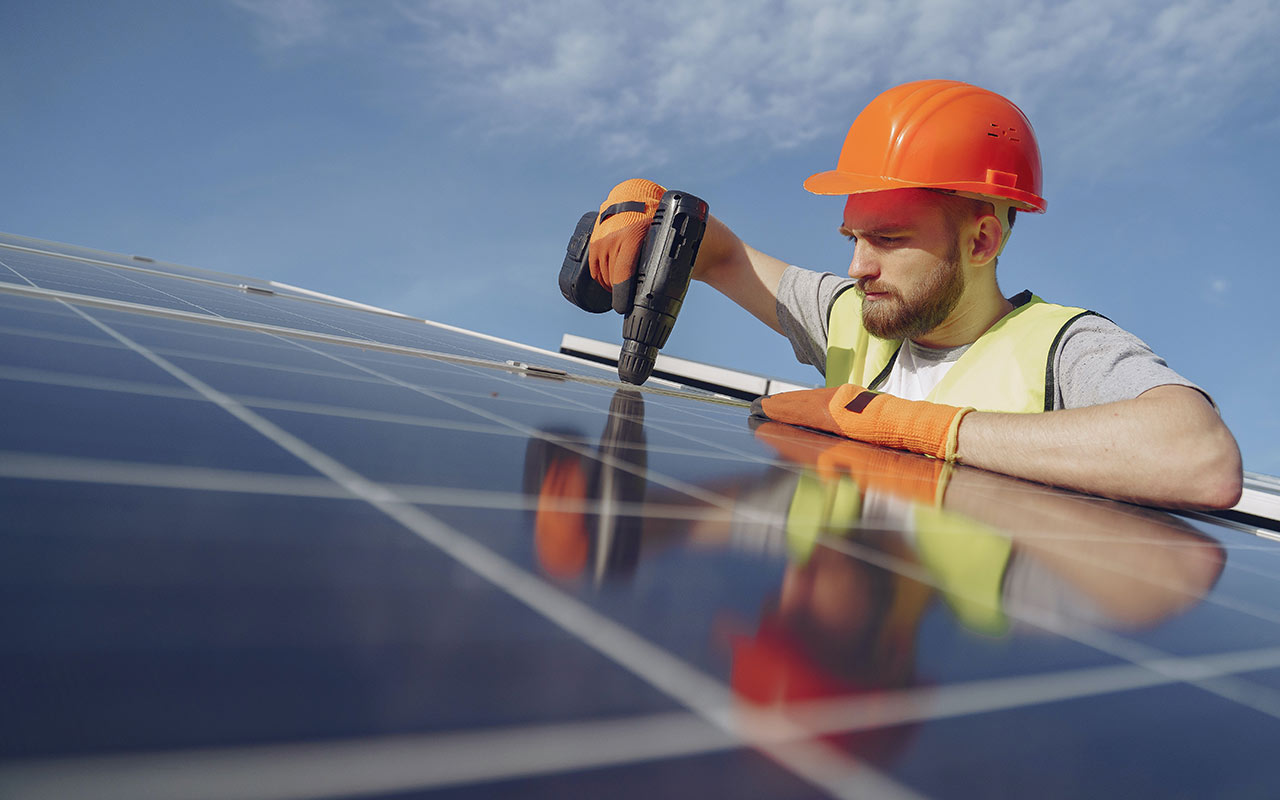
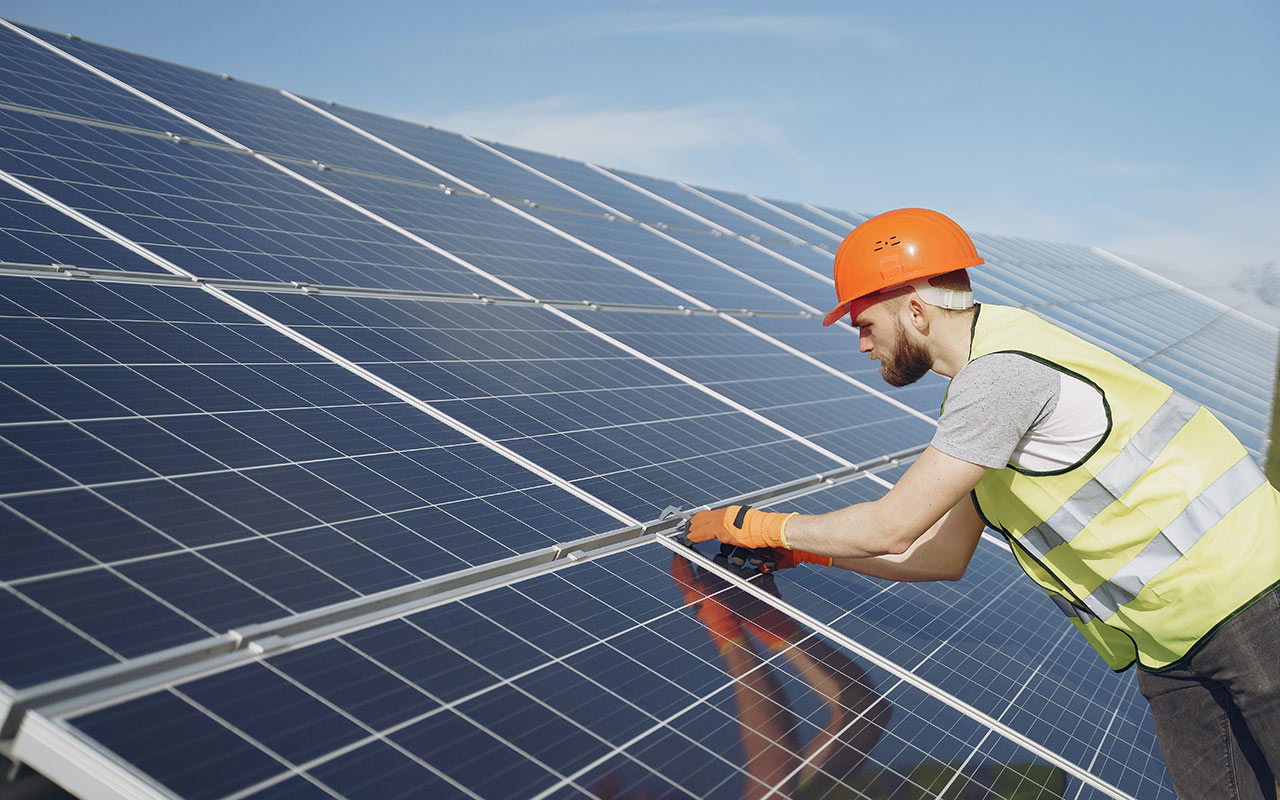
1. Assembly of the supports or structure
Before installing the photovoltaic panels, you will need to mount and position the supports that will hold them on the roof of the house. These supports will vary depending on the slope of the roof, and it goes without saying that they must be approved. Safety first!
2. Fixing the supports and installing the photovoltaic panels
The slope of the roof will determine how you will attach the photovoltaic panels to each support, and the method of attaching these supports to the roof will depend on the type of tile or roofing material.
The next step is to fix the aluminium profiles onto each support – these are the profiles where the panels are fixed in place. These must always be positioned straight and parallel to each other.
Once the profiles are installed, the photovoltaic panels are placed on top of them. These will initially be attached to the aluminium profiles with “staples” and, once we have checked that they are in the desired position, they can be adjusted according to the manufacturer’s instructions.
3. Wiring and connection of the solar panels to the inverter
Once the panels are attached to the structure, the next step is to wire them. In most cases, they already come wired from the factory, although they do have to be connected to the inverter.
The photovoltaic panels need to be connected in series if they are located in the same row, or in parallel to connect the rest of the rows to each other.
The connections are made using MC4 connectors, both to connect the panels in parallel and also to connect them directly to the inverter. This step is very important because a bad connection here will have a negative impact on the performance of the entire solar photovoltaic installation.
The PV panels must also be connected to a PV meter to monitor how much electricity they produce, as well as to the current transformer inverter, which will be the heart of the installation.
4. Battery connection for off-grid housing or for greater savings
If you need batteries to store the energy produced by your PV installation, then you will need to install a hybrid solar inverter capable of managing the charging and discharging of the batteries.
The storage capacity of your batteries will be calculated according to the energy demand and the installed PV field.
Batteries should never be connected in parallel, as only some lithium technology models allow this. In fact, we recommend the installation of lithium batteries, as they are maintenance-free and the manufacturers’ warranty can cover them for up to 10 or even 12 years.
5. Testing the installation
Once you have completed all these steps, the only thing left to do is to test the system. If the installation of the photovoltaic panels has been carried out correctly, you will be able to start working immediately.
Installing these solar panels on your house is an easy process, and you will notice the benefits practically from day one. Once the permits have been obtained from the Town Hall, the installation process takes between 1 and 3 days.
Contacting professionals like MYGREENHOUSE will also give you:
- A 1-year guarantee on the installation.
- A 12-year guarantee against manufacturing defects on panels.
- Up to 30 years guarantee on the panel performance.
In addition to this, we will take care of the legalisation and registration of the installation in the Self-Consumption Register.